
How to Care for Eyelash Extensions for Lasting Results
- Blog Admin

- Oct 8, 2025
- 15 min read
Properly caring for your lash extensions really just boils down to a few core habits: keep them clean, be gentle, and stay away from oil-based products. This straightforward routine is your secret weapon for protecting the adhesive, making your lashes last longer, and keeping your natural lashes healthy and strong. Get this right, and you'll keep that flawless look for weeks.
The Golden Rules of Lash Extension Aftercare
So, you’ve just left the salon with a stunning, eye-opening set of lashes. Now what? The key to keeping them looking full and fluffy isn't some complicated, time-consuming routine. It's all about simple, consistent habits that start the second you walk out our door.
Think of this as your insider's guide to protecting your investment. We’ll get straight into the essentials—the real-world advice that actually works. This is the same professional guidance we give to our clients right here at Skinsation Aesthetics in London, Ontario, designed to make your aftercare feel effortless from day one.
The Foundation of Lasting Lashes
The whole point of aftercare is to protect that tiny, delicate bond holding the extension to your natural lash. That bond is surprisingly tough, but it has a few enemies: oils, too much moisture (especially right at the beginning), and friction. Once you know what weakens it, avoiding the common mistakes is easy.
For example, a lot of people don't realize that the natural oils from their skin—or even the creaminess in their concealer and foundation—can work their way down to the lash line and start breaking down the glue. This is exactly why a dedicated, oil-free cleansing routine isn't just a suggestion; it’s a must.
The life of your eyelash extensions is a partnership. It's 50% your lash tech's application and 50% your commitment to aftercare. Following these golden rules can easily double the life of your set, keeping them looking perfect until your next fill.
What to Expect Day-to-Day
It's totally normal to see a few extensions fall out each day. Your natural lashes have their own growth cycle, and on average, you'll shed between 2 to 5 of them every single day. Since the extension is attached to your natural lash, it will fall out along with it. This is why fills are so important—it’s not a sign of bad application, just your body's natural rhythm at work!
Your daily to-do list is super simple:
Gentle Cleansing: Once a day, use a lash-specific, oil-free cleanser. This will wash away makeup, dust, and any natural oils that have built up.
Daily Brushing: Each morning, take a clean spoolie brush and gently comb through your lashes. This keeps them from tangling and ensures they stay beautifully fanned out.
Mastering these two basic steps is all it takes to create the perfect environment for your extensions to last, ensuring they look just as incredible weeks from now as they did the moment you left the salon.
Navigating the Critical 48-Hour Curing Window
Those first two days after your lash appointment are everything. Seriously. This initial 48-hour window is when the magic happens—it’s when the specialized adhesive fully cures, creating that strong, lasting bond between the extension and your natural lash.
Think of it like waiting for concrete to set. If you mess with it too soon, the whole structure is compromised. The same goes for your lashes.
This is exactly why your technician stresses keeping them completely dry. Any exposure to water, steam, or even a super sweaty workout can disrupt the curing process, leading to a weak bond. And a weak bond means one thing: poor retention. You'll start seeing those beautiful extensions fall out way sooner than they should.
Real-World Survival Tips for the First 48 Hours
Getting through this period just takes a few small tweaks to your daily routine, but trust me, they make a massive difference. It's not about restriction; it's just about being mindful of your gorgeous new lashes.
Showering is probably the biggest challenge. The goal here is to keep direct water pressure and steam far away from your face. A bath is a great alternative, but if you have to shower, keep it quick and lukewarm. Make sure to angle your face away from the showerhead and use a washcloth to cleanse your face, carefully avoiding your eye area.
Sleep is another major hurdle. If you're a stomach or side sleeper, you're putting your new lashes at risk of being crushed or bent out of shape.
Sleep on your back: This is the absolute best way to protect your extensions from any friction with your pillow.
Grab a contoured sleep mask: These are a lifesaver. They have little domed cups over the eyes, creating a protective bubble so your lashes don't touch anything, no matter how much you toss and turn.
Switch to a silk pillowcase: If you just can't manage sleeping on your back, a silk pillowcase is your next best bet. It causes way less friction than cotton, letting your lashes glide over the surface instead of snagging.
Adjusting Your Skincare and Makeup Routines
Your skincare routine needs a little temporary edit, too. For the first couple of days, steer clear of any oil-based products near your eyes. That means no heavy eye creams, oil-based cleansers, or even certain concealers. Oil is the number one enemy of lash adhesive, and it's especially damaging while the glue is still curing.
Key aftercare advice you'll hear in Canadian salons always includes avoiding excess oil, keeping lashes dry for the first 24-48 hours, and then, once the curing period is over, cleansing them gently with specific products to prevent buildup. You can learn more about the lash industry's best practices over at LashGod.ca, a popular Canadian supplier.
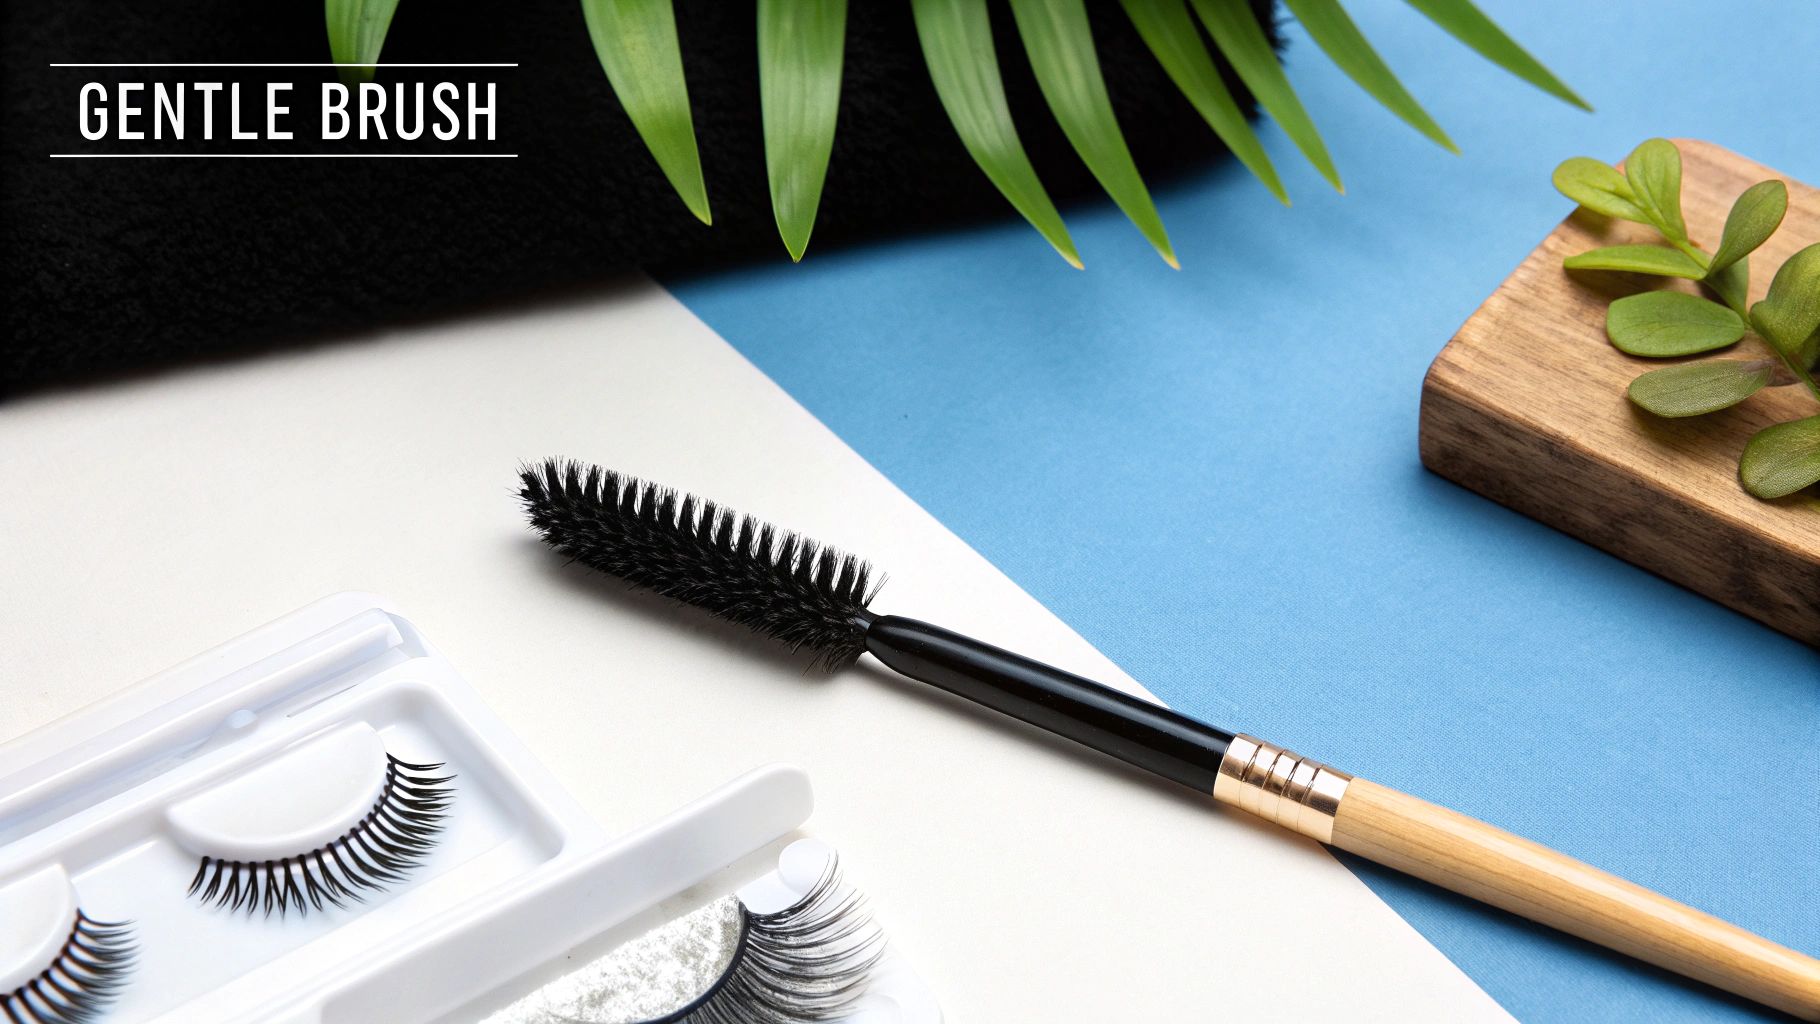
This infographic is a great visual for the proper daily cleansing technique—a crucial step to start after that initial curing window has passed.

As the image shows, using a specialized brush is key to a gentle but effective clean that keeps your extensions in perfect shape.
Key Takeaway: The first 48 hours truly set the stage for your entire lash experience. By protecting the adhesive as it cures, you're directly investing in longer-lasting, more beautiful results. A few small sacrifices now lead to weeks of flawless lashes.
Finally, do your best to resist the urge to touch, pull, or play with your new lashes. Just let them be. When you understand the science behind the bond, making these simple adjustments feels less like a chore and more like a smart way to protect your investment.
Your Daily Ritual for Clean and Healthy Lashes
Once you’re past that initial 48-hour curing period, your focus can shift to a simple daily routine that makes all the difference. Consistent cleansing isn't just a friendly suggestion; it's the number one secret to keeping your eyelash extensions healthy, beautiful, and long-lasting.
Think of it this way: your lash line collects everything. Natural oils, dead skin cells, makeup residue, and dust. If you let that build up, it starts to break down the adhesive, leading to premature shedding and a clumpy, messy look. Nobody wants that.
More importantly, it’s an eye health issue. All that debris can block hair follicles, which can cause irritation or even infections like blepharitis. A clean lash line is a happy, healthy lash line.
Mastering the Gentle Cleanse
The goal here is to be thorough but incredibly gentle. Going in too aggressively or using the wrong products will do way more harm than good. The right technique, on the other hand, keeps your lashes pristine without putting any stress on the bonds.
Your cleansing kit should be simple:
A Lash-Safe Cleanser: This is a must. You need a formula made specifically for extensions. That means it’s 100% oil-free, gentle, and usually has a foaming consistency that’s super easy to work with.
A Soft Cleansing Brush: These are small, soft-bristled brushes perfect for getting right down to the lash line where buildup happens. Your fingers just can't do the job as effectively.
A Clean Spoolie: For the final fluff and separation.
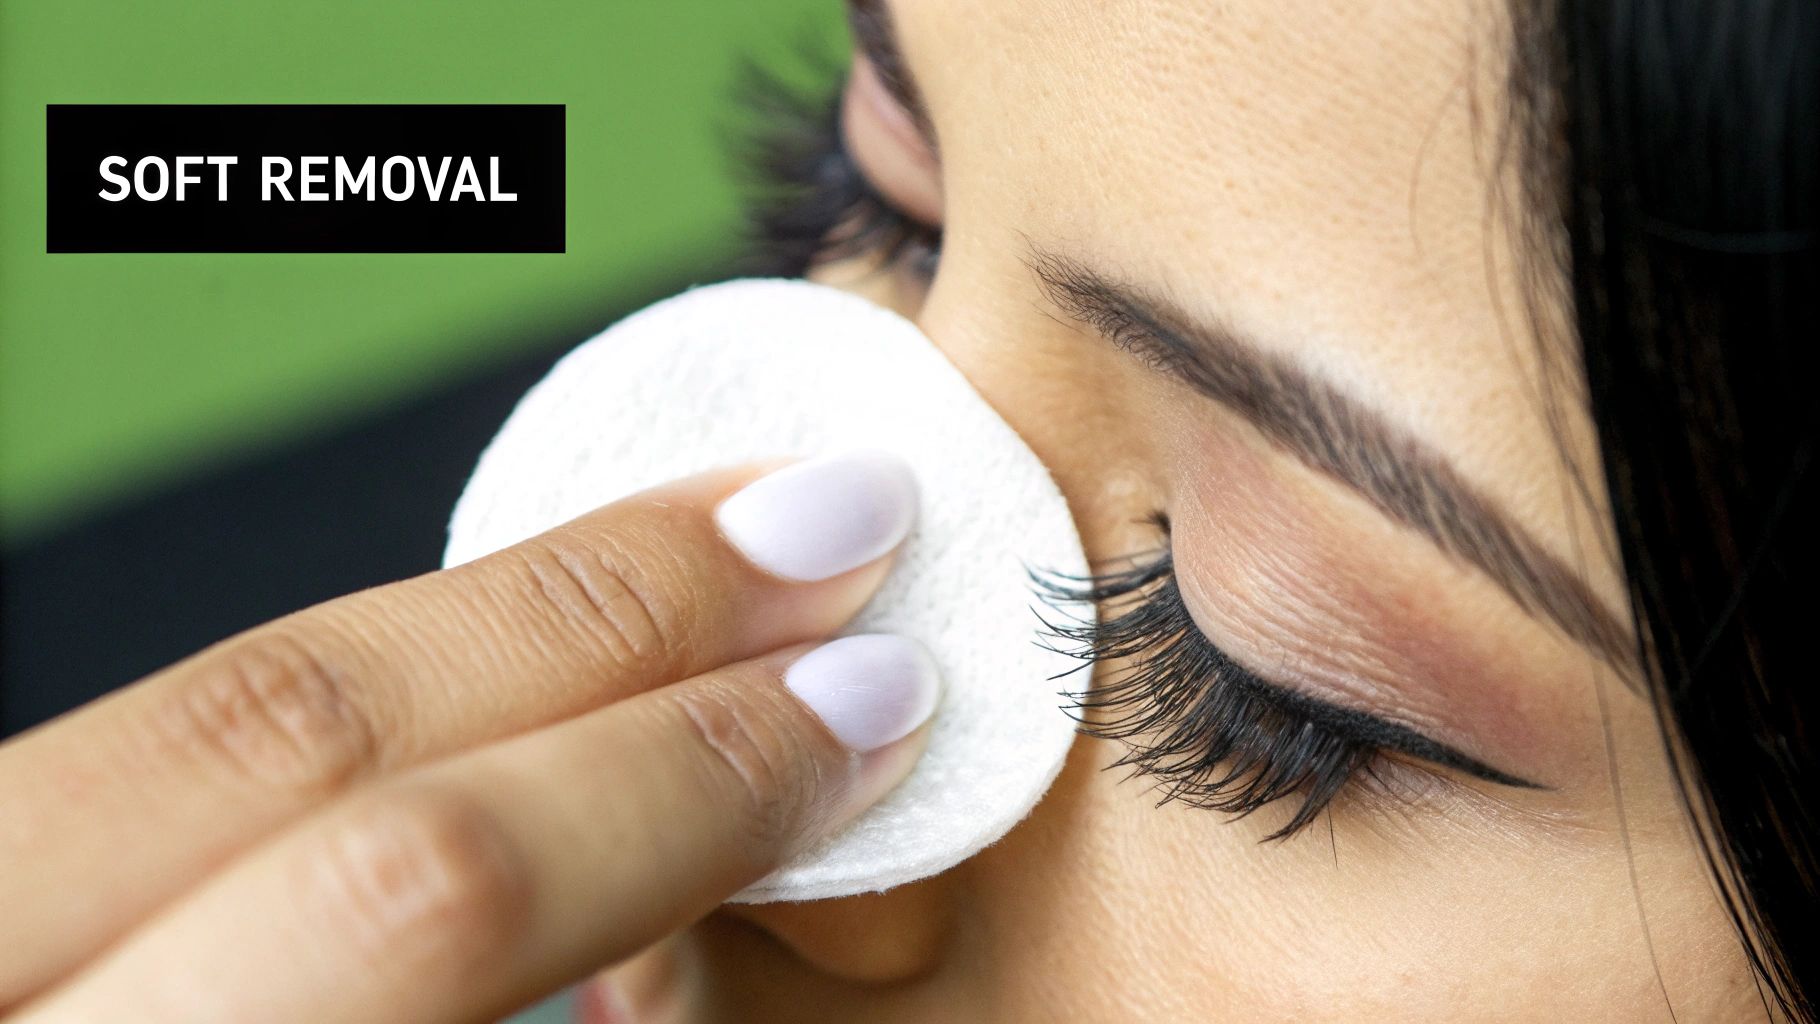
The process is easy. Pump a small bit of foaming cleanser onto your closed eyelid. Using your soft brush, gently work the foam through your lashes from the base to the tips with downward strokes. Never scrub back and forth. Rinse everything off with cool water, pat dry very gently with a lint-free towel, and let them air dry completely.
A common mistake is thinking that avoiding water will make your lashes last longer. It’s actually the opposite. Oil and debris break down the adhesive much faster than water ever will. A clean, oil-free environment is the key to maximum retention.
The Essential Daily Brush-Through
Once your lashes are completely dry, it's time for the final touch: a quick brush-through with a clean spoolie. This little five-second step is what keeps your extensions looking perfectly separated, fluffy, and fanned out.
Just close one eye, start from the middle of your lashes, and roll the spoolie over the tops of the extensions down to the tips. Be careful not to snag the brush at the base where the bonds are. This detangles any lashes that might have crossed over while you slept and resets them into their perfect, stylized shape.
This daily brushing is what prevents that dreaded "spidery" look and ensures your volume or hybrid fans stay open and airy. It’s the finishing touch that maintains that fresh-from-the-salon look every single day.
Why Product Choice Is Paramount
Using the wrong products can undo all your careful work in an instant. This is exactly why technicians across Canada are so insistent about proper hygiene. Oil-based mascara or harsh eye makeup removers are notorious for dissolving lash adhesive and causing your extensions to shed way too early. The professional consensus is clear: gently cleanse your lashes every day with a specialized lash cleanser.
This same principle applies to your whole skincare routine. You wouldn't use a harsh cleanser on sensitive facial skin, so treat your eye area with the same care. If you use a double-cleansing method for your face, you understand the importance of a dedicated, safe approach for different areas. To learn more about this, check out our guide on how to double cleanse with Canadian skincare tips in London, ON.
Adopting this mindset ensures your entire routine works together to protect your investment. This daily ritual is the foundation of great aftercare, keeping your natural lashes healthy and strong enough for beautiful fills for months to come.
Common Habits That Secretly Ruin Your Lashes
You have the absolute best intentions for your lash aftercare, but sometimes, it’s the little things you don’t even think about that cause the most damage. Protecting your investment is about more than just cleaning them; it’s about being mindful of the seemingly innocent daily habits that can weaken that precious adhesive bond and lead to premature fallout.
So many clients in London, ON tell me they’re doing everything right, but their lashes are shedding faster than expected. More often than not, the culprits are hiding in plain sight—from the way you sleep to how you check on dinner. Once you spot these secret saboteurs, you can make a few simple tweaks that will dramatically extend the life and beauty of your extensions.
The Unseen Dangers in Your Daily Routine
Let's get past the obvious stuff like "don't pick at your lashes." The real, sneaky damage often comes from things that put a little bit of stress on those delicate bonds over and over again. You might be surprised how many of these are part of your everyday life.
One of the biggest offenders? How you sleep. If you’re a stomach or side sleeper, your lashes are likely getting smushed into your pillow for hours every night. This constant friction doesn’t just twist and bend the extensions out of shape; it can physically break the adhesive bond. You’ll wake up wondering why one eye suddenly looks so much sparser than the other.
Heat is another silent enemy. Think about that blast of hot air that hits you when you open a steaming oven or dishwasher. That sudden, intense heat can instantly singe the delicate tips of synthetic lashes or, even worse, soften and weaken the glue. The same goes for standing too close to a barbecue or aiming a hot blow dryer right at your face.
Pro Tip: When you open a hot oven, just turn your head to the side. It’s a tiny, two-second change of habit that completely shields your lashes from that initial wave of intense heat, preserving their curl and the strength of the adhesive.
Skincare and Makeup Mistakes to Avoid
Your beauty routine can also be a minefield for your extensions if you're not careful. The products you use—and how you use them—matter immensely when you're trying to keep your lashes looking full and fabulous.
Using the wrong products is a fast track to lash fallout. Here are a few of the most common mistakes I see:
Oil-Based Products: This is the golden rule, but it’s so important it’s worth repeating. Any product with oils—from makeup removers and cleansers to foundations and eye creams—will dissolve the cyanoacrylate-based adhesive that holds your lashes on. Always, always check your labels for "oil-free" formulas.
Waterproof Mascara: Honestly, you shouldn't need mascara on your top extensions at all. But waterproof formulas are a definite no-go. It's incredibly stubborn to remove without using harsh, oil-based removers and a lot of rubbing, both of which will absolutely destroy your lash set.
Mechanical Eyelash Curlers: These clamp-style curlers will crimp and break both your natural lashes and the extensions right at the base. They put a ton of pressure on the bond, causing instant and irreversible damage. If you feel like you need more of a curl, that's a sign to chat with your lash tech about trying a different lash style at your next fill.
The Problem with Unconscious Habits
Beyond products, it’s the physical habits we do without even thinking that cause problems. Rubbing your eyes when you’re tired is a reflex for most of us, but it's a disaster for extensions. That simple motion can tug extensions loose and even damage your natural lashes underneath.
Another one is letting the high-pressure stream from the shower hit your face directly. Over time, that force can work water deep into the lash line and weaken the bonds.
Recognizing these habits is the first step. By consciously choosing to pat your eyes dry, aiming the showerhead away from your face, and selecting oil-free products, you're actively protecting your lash investment. It's these small, mindful changes that make the biggest difference in your retention.
If you find that the maintenance is a bit much, it might be worth exploring other options. Our guide comparing Lash lifts vs. lash extensions in Canada can give you some great insights into what might suit your lifestyle better. Ultimately, protecting your extensions is all about building a routine that works with them, not against them.
Choosing Products That Protect Your Investment
Think of your eyelash extensions as a serious investment in your beauty routine. Just like any other luxury, they need the right care to last. The products you use on your face every single day have a direct line to your lashes, and the wrong ones can undo all your lash artist's beautiful work.
Learning to scan an ingredient list is probably the single most powerful skill you can develop for long-lasting lashes. It sounds intimidating, but it's really just about knowing what to look for. Many common beauty ingredients, while fantastic for your skin, are total villains for lash adhesive.
Decoding Ingredient Labels
So, what are the main culprits? In my experience, the two biggest enemies of lash glue are oils and glycols.
These ingredients are everywhere—from creamy concealers and hydrating serums to your go-to makeup remover. They are notorious for breaking down the cyanoacrylate adhesive that bonds the extension to your natural lash. When that bond weakens, your extensions will start to shed prematurely, and no amount of careful brushing can save them.
When you're shopping here in Canada, just flip the product over and look for these common offenders:
Oils to Avoid: Mineral Oil, Castor Oil, Coconut Oil, Vegetable Oil, and really any plant-based oil high up on the ingredient list.
Glycols to Avoid: Propylene Glycol, Butylene Glycol, and Polyethylene Glycol (PEG). These are often used as solvents and they gradually eat away at the adhesive.
Your new best friend is anything "water-based." Phrases like "oil-free" are a good start, but a quick scan of the full ingredient list is always the safest bet.
Building Your Lash-Safe Beauty Arsenal
Switching to lash-friendly products doesn’t have to feel like a chore. There are tons of amazing, lash-safe options on the Canadian market that perform beautifully without compromising your extensions.
A quick reference can make shopping so much easier. Here’s a simple table to help you spot the good from the bad when you're checking labels.
Ingredient Category | Safe for Extensions (Examples) | Avoid with Extensions (Examples) |
|---|---|---|
Cleansers | Water-based, Foaming Cleansers, Micellar Water (oil-free formulas) | Oil Cleansers, Cleansing Balms, Cream Cleansers |
Moisturizers | Hyaluronic Acid Serums, Gel-based Moisturizers, Oil-free Lotions | Heavy Creams with Shea Butter, Face Oils, Coconut Oil |
Makeup Removers | Oil-free Micellar Water, Dedicated Lash Shampoos | Bi-phase (Oil & Water) Removers, Cleansing Oils |
Eyeliners | Water-based Liquid Liners, Powder Eyeshadow (used as liner) | Pencil Liners, Gel Eyeliners, Cream Eyeliners |
Solvents/Humectants | Glycerin, Hyaluronic Acid | Propylene Glycol, Butylene Glycol, PEG |
Remember, this is just a starting point. Always do a quick check of the full ingredient list to be absolutely sure you're keeping your lash investment safe.
Cleansers and Makeup Removers
This part is non-negotiable: you need a dedicated, oil-free lash cleanser. But it doesn't stop there. Your everyday facial cleanser and makeup remover also have to be free of oils and glycols. Micellar water is often a fantastic choice, but you have to check the specific formula, as some contain oils.
Proper care means gentle cleansing with these safe formulas. Never, ever rub or pull at your lashes. This meticulous approach, combined with a professional application, is what keeps lashes healthy and looking incredible. The demand for great lash products is booming in Canada and beyond, which means more safe options are becoming available all the time.
Eyeliners and Eyeshadows
Your eye makeup choices matter just as much as your skincare. Steer clear of pencils, gels, and cream-based products that require you to press or tug at the lash line during application. That pressure can physically loosen the bonds.
Best Bet: Oil-free liquid liners with a fine-tip felt or brush applicator are perfect. They glide on smoothly without disturbing the base of the extensions.
Good Alternative: You can use a dark powder eyeshadow with a soft, angled brush to create a liner effect without the risks of creamy or waxy formulas.
Expert Insight: I always tell my clients to think of their lash line as a delicate ecosystem. Introducing oily or waxy products is like introducing a pollutant—it disrupts the balance and breaks down the very foundation of your beautiful lash set.
The Role of a Lash Sealant
If you want to go the extra mile, consider adding a lash sealant to your routine. Think of it as a protective topcoat for your extensions. It creates a barrier around the adhesive bond, shielding it from your skin's natural oils, humidity, and other environmental factors.
You only need to apply it a few times a week. Just a thin coat at the base of the extensions helps cure the adhesive and lock out anything that might weaken it. This simple step can easily add days, or even a full week, between your fills, making it a truly worthwhile addition to your aftercare routine.
Knowing When to Schedule Your Next Lash Fill
Think of lash fills as more than just a quick touch-up. They're a non-negotiable part of your lash care, absolutely vital for keeping your extensions looking full, healthy, and perfectly in place. Putting off a fill might not seem like a big deal, but it can quickly lead to a sparse, unbalanced look that's actually more prone to damage.
Regular fills are timed to work with your natural lash growth cycle, not against it. It's a fact that you naturally shed between 2 to 5 lashes per eye, every single day. When a natural lash is ready to fall out, the extension attached to it goes too, leaving a tiny gap. This is totally normal and expected!
Why the 2 to 3 Week Schedule is Key
There’s a good reason why scheduling your fills every two to three weeks is the industry gold standard in Canada. This timing hits the sweet spot in your natural lash cycle, letting your technician get ahead of two key issues before they even start.
First, they'll gently remove any extensions that have grown out too far from your lash line. An overgrown extension can get top-heavy, causing it to twist and pull on the natural lash. This puts unnecessary strain on the follicle, which can sometimes lead to premature shedding or damage.
A lash fill is proactive, not just reactive. By removing those grown-out extensions and applying new ones to fresh, sturdy lashes, we keep your set looking seamless. More importantly, we prevent the kind of stress that can compromise your natural lash health down the road.
What to Expect During Your Fill
When you go in for a fill appointment, you should receive a thorough process focused entirely on your lash health. Your technician will start by carefully cleansing your lashes to get rid of any oils or makeup residue, creating the perfect canvas to work on.
Next up is a detailed assessment. We meticulously check for and remove any extensions that have grown out or twisted since your last visit. It’s a delicate process, but it’s crucial for keeping your natural lashes strong. Only then do we start applying beautiful, new individual extensions to the mature natural lashes that are ready for them.
This methodical approach is what keeps your set looking balanced, full, and flawlessly styled. It’s a partnership—your daily care at home combined with our expert maintenance in our London, ON clinic. That’s the secret to guaranteeing your extensions always look and feel amazing, reinforcing our commitment to your long-term lash happiness.
Your Top Lash Care Questions Answered
Even with the best aftercare guide, I know specific questions always pop up. It's totally normal! So, I’ve put together some of the most common things my clients here in London, Ontario, ask me. My goal is to give you clear, simple answers so you can feel completely confident taking care of your beautiful new lashes.
Can I Wear Makeup with My Extensions?
Yes, you absolutely can, but you have to be smart about it. If you feel the need for mascara, make sure it's a water-based, oil-free formula. Only apply it to the very tips of your extensions—never get it near the base where the adhesive is doing its work.
When it comes to eyeliner, stay far away from pencils and gel liners. They can tug and pull at your lash line, which is the last thing you want. A liquid, oil-free liner that glides on smoothly is a much, much safer bet.
Is It Normal to Lose a Few Lashes Every Day?
Absolutely. Your natural lashes are on a constant cycle of shedding and growing back. It's perfectly normal to see between 2 to 5 natural lashes fall out each day, and when they do, the extension attached to them will go along for the ride.
This natural cycle is precisely why fills are so important every two to three weeks. It’s all about keeping that lush, full look consistent.
What Should I Do If My Lashes Get Twisted?
The only tool you should reach for is a clean spoolie brush. Gently close one eye and, starting from the middle of the lash, just roll the brush over the tops of your extensions toward the tips.
This simple move will detangle them and fan them back into place perfectly without putting any stress on the adhesive bond. Whatever you do, don't use your fingers to pick, pull, or twist them back into shape.
After that initial 48-hour curing period, you can definitely go swimming! Just remember to gently rinse your lashes with fresh water as soon as you get out of the pool or the ocean. This little step is a game-changer for preventing salt and chlorine from slowly weakening the adhesive over time.
Comments